How to Teach Checkmate Patterns to Young Players
A child can know how every chess piece moves and still miss a mate in one. That is not a lack of intelligence or effort. Checkmate is a new kind of skill: the player must see the king’s escape squares, understand which pieces control them, and recognize the same finishing picture when it appears in a real game.
For parents and coaches learning how to teach checkmate patterns, the goal is not to hand children a long list of positions to memorize. It is to help them spot familiar ideas quickly, explain why they work, and use them with confidence. When checkmate lessons are visual, active, and tied to real-game decisions, children begin to see the board differently.
Start With What Checkmate Actually Means
Before teaching named patterns, make sure the foundation is solid. A checkmate happens when the king is in check and has no legal way to escape. That means it cannot move to a safe square, capture the checking piece safely, or block the attack when blocking is possible.
Young players often hear, “The king has nowhere to go,” but they need to prove it on the board. After every checkmate position, ask three simple questions: Where can the king move? Can the checking piece be captured? Can another piece block the check? These questions turn checkmate from a guess into a clear process.
Keep the first examples small. Use only a king, a few pawns, and the attacking pieces involved in the pattern. A crowded board can hide the lesson, especially for beginners. Once a child understands the idea in a simple position, add the realistic pieces later.
How to Teach Checkmate Patterns One Picture at a Time
The most effective approach is pattern-based, not worksheet-based. Show one picture, name the important roles, let the child rebuild it, and then ask them to find it from a slightly different angle. The board may rotate, the colors may switch, or an extra piece may appear, but the core idea stays the same.
A useful teaching sequence has four stages: recognize the pattern, explain the escape squares, set up the pattern, and find it in a short position. A child who can only solve a diagram may be memorizing. A child who can set up the same mate and explain it is learning the pattern.
Avoid trying to cover every mating idea in one lesson. For younger children, one pattern taught well is far more valuable than six patterns rushed through. Older or more experienced players can move faster, but they still benefit from repetition over several lessons.
Begin With the Ladder Mate
The ladder mate, also called the two-rook mate, is a strong early lesson because the pattern is easy to see. Two rooks work together to push the enemy king toward the edge. One rook gives check while the other rook protects it and takes away a full row or file.
Let the child move both sides at first. Have them play the defending king and try to escape. This makes the rook partnership memorable: the checking rook attacks the king, while the second rook controls the escape route. Then add a friendly king and explain why it may be needed in a real position if the rooks are not fully protected.
Teach the Back-Rank Mate as a Warning Sign
The back-rank mate is one of the most useful patterns for children who have started playing complete games. A king trapped behind its own pawns can be checkmated by a rook or queen on the back rank.
The key lesson is not simply “put your rook on the eighth rank.” It is to notice the trapped king. Ask, “What squares are blocked by the king’s own pawns?” Then ask, “Can the king make an escape square before this check arrives?” This connects tactics with good habits, such as moving a pawn to give the king breathing room when appropriate.
There is a trade-off here. Children can become overly cautious and create an escape square automatically, even when it weakens their king. Teach the pattern as something to evaluate, not a rule to follow without thinking.
Use the Smothered Mate for More Advanced Students
Smothered mate is exciting because it feels surprising. The king is surrounded by its own pieces, and a knight delivers the final check. Unlike a rook or bishop, the knight’s attack cannot be blocked.
This pattern works best after a child understands knight movement comfortably. Start with the final position, not a complicated sacrifice sequence. Let the student identify every square around the king and see that friendly pieces occupy them all. Only then introduce common setups, such as a queen sacrifice that forces the king into a crowded corner.
For tournament-minded players, this is also a good moment to teach calculation discipline. A brilliant-looking sacrifice is only correct if every response has been checked.
Turn Checkmate Practice Into a Game
Children learn faster when they are doing the spotting, moving, and explaining. A coach or parent does not need to perform a long lecture. Short challenges create much better attention.
Try “mate in one” rounds with a timer, but keep the time pressure light. Ask the child to say the checking move before moving it. If they find the answer, have them explain why the king cannot escape. If they miss it, point to the king first and count its available squares together.
Another effective activity is “build the mate.” Give the child an enemy king and a few pieces, then ask them to create a back-rank mate or ladder mate from scratch. This reverses the usual puzzle format and reveals whether they understand the jobs of each piece.
For siblings or group lessons, play a quick pattern race: set up three familiar mating pictures and ask players to name the pattern and the final move. Keep the focus on accuracy, not just speed. Fast guessing can become a habit, while thoughtful checking leads to stronger game play.
Connect Patterns to Real Games
A checkmate pattern only becomes useful when a child recognizes the clues before the final move appears. In a game review, do not only point out a missed mate. Pause a few moves earlier and ask what changed around the enemy king.
Maybe the king moved into the corner. Maybe a defender left the back rank. Maybe a pawn advanced and removed an escape square. These are the signals that make a pattern available. Children who learn to notice them start looking for opportunities instead of waiting for a coach to announce one.
It also helps to review missed chances without blame. Say, “This was a pattern you are learning to spot,” rather than, “You should have seen that.” Confidence matters. A child who feels safe analyzing mistakes will improve much faster than one who feels judged for them.
At Savushkin Chess, coaches can adjust this progression to the student’s age, attention span, and current game level. A 5-year-old may learn best by physically building a simple rook mate, while a tournament player may need to calculate a forced sequence from a messy middlegame position. The principle is the same: clear pattern, repeated practice, real-game connection.
Give Each Pattern Time to Stick
One lesson is rarely enough for checkmate patterns to become automatic. Revisit the same idea in short bursts over the next few weeks. Begin a lesson with one familiar puzzle, include one new variation, and bring the pattern back during game analysis.
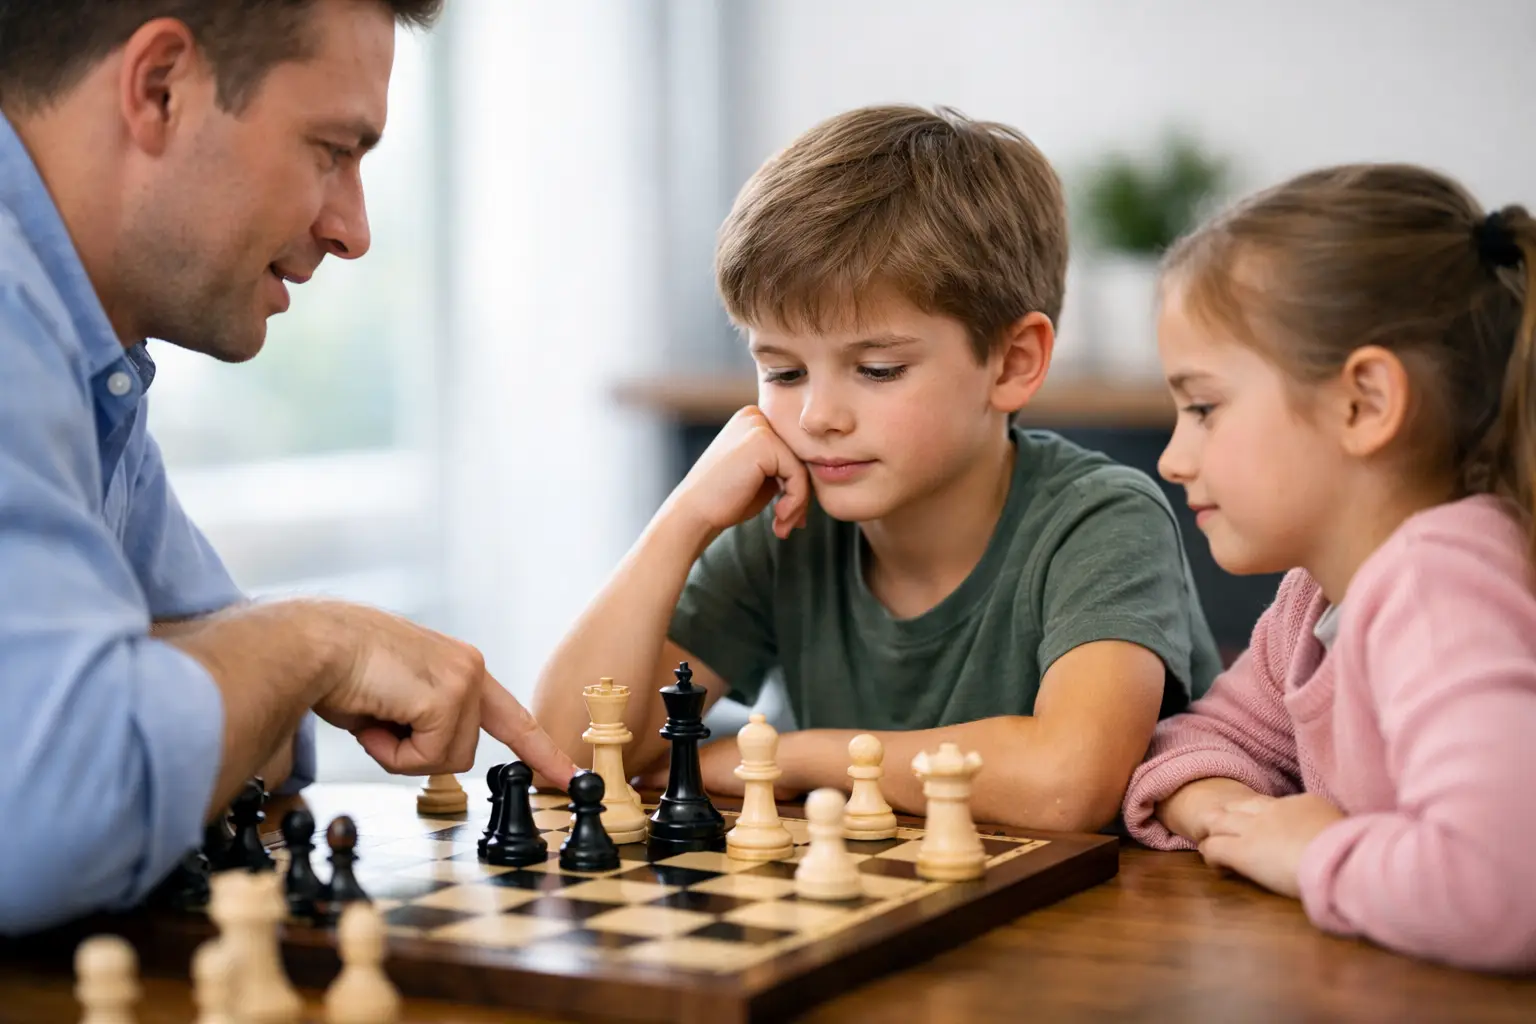
Parents can reinforce progress without needing to be chess experts. Ask your child to show you a favorite mating pattern on a board or screen and explain how the king is trapped. Teaching it back is powerful practice. If they can explain the controlled squares in plain language, the idea is becoming their own.
The best checkmate lessons leave children eager to look for the next opportunity. When they spot a familiar king position during a game and quietly say, “I know this pattern,” that is the moment practice turns into real chess confidence.

Ready to see chess click for your child?
Book a free 20–30 minute trial lesson with one of our coaches — no commitment, no payment needed.